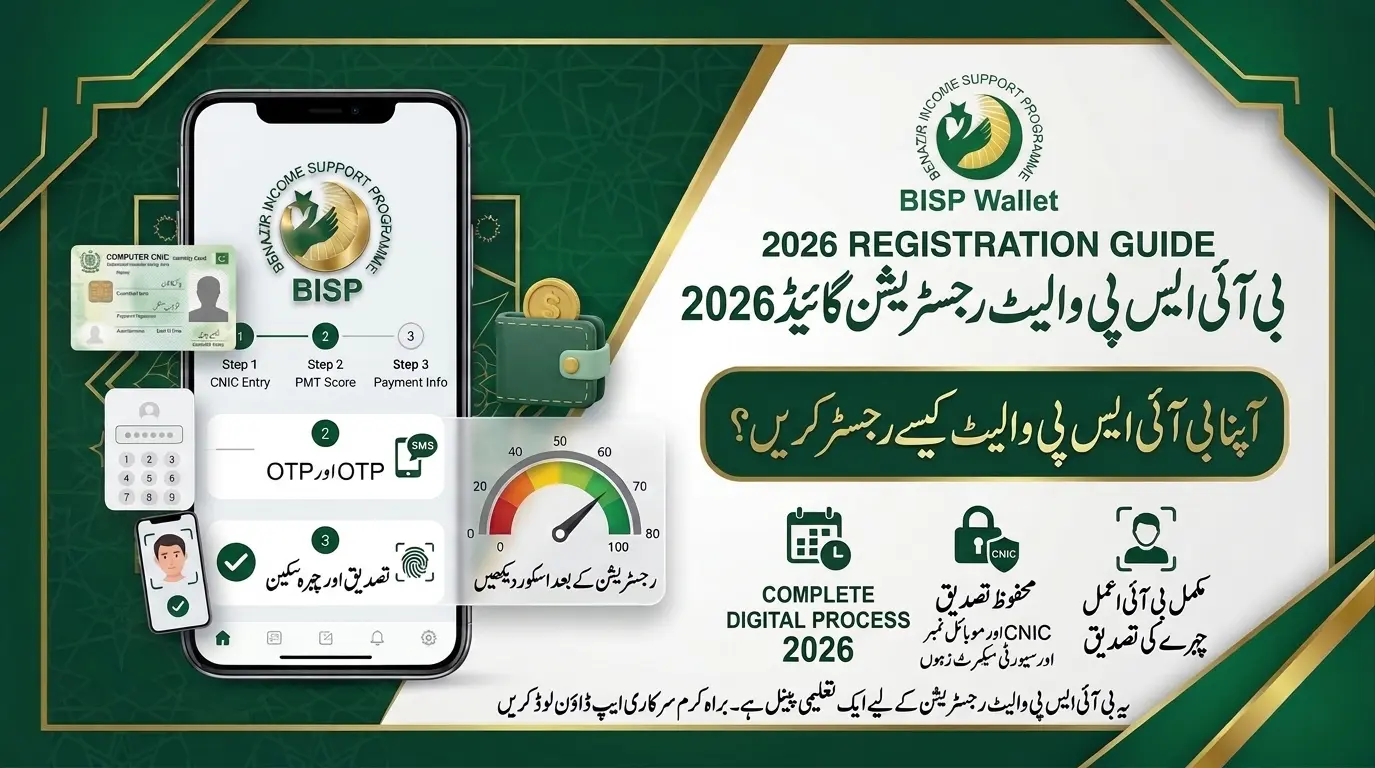
How to Register a BISP Wallet in 2026: Many beneficiaries now hear the term “BISP wallet” and wonder whether they need one, how to open it, and whether it replaces the cash they used to collect. The short answer is that a digital wallet linked to your CNIC and mobile number lets you receive payments electronically, so you are not always required to stand in a long queue on payment day. This guide explains what the wallet is, what you need before you begin, how the registration usually works, and how to fix the problems that delay most applicants. You can also find other government and private openings on the New Pakistan Jobs homepage.
اردو خلاصہ: بینظیر انکم سپورٹ پروگرام کی ادائیگی اب ڈیجیٹل والٹ کے ذریعے بھی ممکن ہے، جو آپ کے شناختی کارڈ اور موبائل نمبر سے منسلک ہوتا ہے۔ رجسٹریشن سے پہلے اپنا شناختی کارڈ درست کروائیں، موبائل نمبر اپنے نام پر یقینی بنائیں، اور بائیومیٹرک تصدیق مستند بینک یا ایجنٹ کے ذریعے کروائیں۔ کسی بھی شخص کو رجسٹریشن کے نام پر رقم نہ دیں۔
Table of Contents
What Is a BISP Wallet and Why It Matters
A BISP wallet is an electronic account that receives your stipend digitally. Instead of collecting cash only at a fixed collection point, the money is credited to an account connected to your identity. This reduces the time families spend travelling and waiting in line, and it creates a clearer digital record of each payment.
Digital Payment vs Traditional Cash Collection
Under the traditional model, beneficiaries visited a designated point on the scheduled day and collected money after biometric verification. With a digital wallet, the payment is sent to your account, and you withdraw or use it when convenient, subject to the rules of your wallet or bank provider. Cash collection has not disappeared for everyone, so check which method your household has been assigned.
Who Usually Needs to Register
Households that have been approved and assigned to a digital payment channel are the ones normally asked to register a wallet. If your status says you are eligible but your payment channel has not been confirmed, confirm the method with BISP before taking any action.
Before You Start: Eligibility and Document Checklist
A few preparation steps can save you several visits. Completing them before you go to a bank, agent or office will make the process much faster.
Confirm Your Status Through 8171
Send your 13-digit CNIC number, without dashes, to 8171 by SMS. The reply will tell you whether your record is active, under review, or pending. If the reply says you are not eligible or that a survey is required, do not proceed to wallet registration until that issue is resolved.
Check That Your CNIC Is Valid
An expired or damaged CNIC is one of the most common reasons registration fails. Make sure your card has not expired and that the details printed on it match your records. If it needs renewal or correction, contact NADRA before you go to a bank or agent.
Confirm the Mobile Number Is Registered in Your Name
The mobile number you use for the wallet should be registered in your own name, linked to your CNIC. A SIM registered to someone else can cause verification failures. If the number is not in your name, get it corrected through your mobile operator first.
Keep Your Mobile Phone Available
You will receive OTPs and confirmation messages during the process. Keep the phone with you, make sure it has signal, and do not give the OTP to anyone who asks for it.
Documents Needed to Register a BISP Wallet
Requirements can vary by provider and by branch, so always ask for the current list when you arrive. In general, prepare the following.
Essential Documents
- Original CNIC of the registered beneficiary, valid and not expired
- A mobile number registered in your name and linked to your CNIC
- Any reference number, SMS or notice you received from BISP
Documents That May Be Requested
- B-Forms of children, if the household record includes them
- Family registration certificate, where the office asks for proof of household details
- Recent photographs, if the provider requires them
Carry photocopies of every document as well. Keep the originals with you and avoid leaving them with anyone who is not an official staff member.
How to Register a BISP Wallet: Step-by-Step Process
Although the exact screens depend on the provider, most registrations follow the same logic: confirm identity, link the mobile number, verify biometrics, and receive confirmation.
Step 1: Confirm Your Eligibility and Payment Channel
Check your status by SMS or on the official BISP website. Make sure your record shows an active status and that a digital payment channel has been assigned. Without that, the wallet may not receive the payment.
Step 2: Choose an Authorised Registration Point
Go to a designated partner bank branch or an authorised agent named in official BISP communications. Avoid informal shops or individuals who offer to “activate” a wallet for a fee, as these are common sources of fraud.
Step 3: Provide Your CNIC and Mobile Number
Hand over your original CNIC and the mobile number you want linked to the account. Staff will enter these details into the system. Check that the name and CNIC number on the screen match your card before you sign anything.
Step 4: Complete Biometric Verification
You will be asked to place your finger on a fingerprint scanner. This confirms that you are the registered beneficiary. Biometric verification protects the stipend from identity theft, which is why it cannot be skipped or handled through a third party.
Step 5: Receive and Enter the OTP
A one-time password will be sent to your registered mobile number. Share it only with the official staff member assisting you, and only if you initiated the process at an authorised point. Never give an OTP over the phone to someone who contacts you.
Step 6: Review and Confirm the Account Details
Before leaving, ask staff to show you the account details, the registered mobile number and the status of your wallet. Keep the reference slip or message that confirms the registration.
Step 7: Verify Activation Later
Registration does not always activate immediately. Check the status a day or two later through the official channels described below.
Registering Through a Partner Bank Branch
Partner banks are one of the most reliable places to complete registration because staff are trained in the verification steps and records are maintained in the banking system.
What to Expect at the Branch
Expect a queue, especially on the first days after a new tranche is announced. Arrive early, bring all documents, and ask the desk whether a separate counter is available for BISP verification. Staff may also confirm your mobile number and CNIC against their system before creating the wallet.
Questions to Ask Before You Leave
- Has my wallet been created and linked to my CNIC?
- Is my mobile number correctly recorded?
- How will I receive confirmation of activation?
- Which helpline or office should I contact if the payment does not appear?
Registering Through an Authorised Agent
In some areas, authorised retail agents assist with biometric verification and wallet-related services. Agents can be convenient, particularly for families who live far from a bank branch, but they must be authorised.
How to Confirm an Agent Is Legitimate
- Ask the agent to show an official authorisation or identification badge.
- Check that the location is named in an official BISP or partner notice.
- Confirm that the agent is not charging a fee for registration or verification.
- Be wary of anyone who keeps your CNIC or mobile phone for long periods.
If an agent asks for money to “prioritise” your wallet or promises a larger payment, walk away and report the incident to BISP.
Online and Mobile Options: What Is Safe to Use
Some digital services allow you to check your status or begin certain steps from a phone or computer. The key rule is simple: only use links and numbers published on official websites or in official notices.
Safe Online Channels
- The official BISP website for status information and notices
- The 8171 SMS service for CNIC status checks
- Partner bank applications or websites, only when the link is published by the bank itself
Warning Signs of a Fake Portal
- A web address that is not clearly connected to a government or known bank domain
- A request for your mobile banking PIN, password or full OTP
- A promise of guaranteed approval, higher payments or instant activation
- A request to pay a “processing fee” before the wallet is created
How to Verify Your BISP Wallet Activation
Once registration is complete, confirm that the account is active and linked correctly. This is a step many applicants skip, and it is often where delays are discovered.
Check Your Status Through SMS
Send your CNIC number to 8171 and read the reply carefully. Look for confirmation that your record is active and that a payment channel is assigned.
Confirm With the Provider
If you registered at a bank or agent, ask the provider whether the wallet has been activated. Keep the reference number handy in case you need to follow up.
Watch for Payment Notifications
Payment confirmations may arrive by SMS. Save these messages. If a tranche is announced but no message arrives, contact BISP or the provider rather than assuming the payment has been cancelled.
How to Check Your BISP Wallet Balance and Payment Status
Many applicants search for “BISP wallet balance,” but the most important information is usually the payment status for the current cycle. Wallet balance details depend on how your provider presents account information.
Common Ways to Check
- Use the 8171 service to confirm your status and payment channel
- Visit the official BISP website for notices and status information
- Ask your partner bank or agent for the balance on your account, after confirming your identity in person
Why the Balance May Look Different
A payment may be shown as pending while it is being processed for a tranche. The money may also appear in the account only after the provider completes its internal steps. Patience and documentation matter here.
Common Problems When Registering a BISP Wallet and How to Fix Them
Most problems have straightforward causes. Here are the ones that come up most often.
CNIC Mismatch or Expired Card
If the name or number on your card does not match the system, or the card has expired, registration will stop. Renew or correct the CNIC through NADRA first. Then return to the provider with the updated card.
Mobile Number Not Linked to Your CNIC
If the SIM is registered in someone else’s name, the OTP may fail or the account may not verify. Ask your mobile operator to correct the registration, then try again.
Biometric Verification Failure
Dirty, dry or damaged fingers can cause scanner errors. Clean your hands, let them dry, and try again. If the problem continues, ask the staff to try a different finger or to record the issue so you can be referred to a supervisor.
Wallet Not Showing After Registration
Allow a reasonable period for the system to update. If the status still does not show, ask the provider for the reference number and contact BISP with the details.
Name or Record Error
If your name, father’s name or household details are wrong, do not guess a correction. Ask BISP how the record should be updated and what documents are required.
Safety Tips for BISP Wallet Applicants
Fraudsters often target people waiting for financial support. Keep these habits in mind.
- Never share your OTP or PIN with anyone, including people who claim to be from BISP.
- Do not pay for registration. Official enrolment and verification are free.
- Use only official numbers and websites. Compare any link or number with the one published by BISP or your provider.
- Keep your CNIC photocopies safe and avoid sharing them through open messaging groups.
- Ask for receipts or reference slips when you complete a step.
- Ignore viral messages that promise special payments or quick wallet activation.
Why Biometric Verification Is Required
Biometric verification is designed to make sure the money reaches the right person. It reduces the risk of someone else using a family member’s CNIC to collect funds, and it helps staff identify duplicate records. For many households, especially those headed by women, this step is an important safeguard.
If you are asked to complete biometric verification, you are not being singled out. It is a standard security measure applied across the programme.
Frequently Asked Questions
What is a BISP wallet?
A BISP wallet is a digital account linked to your CNIC and mobile number that can receive your stipend electronically. Availability and features depend on the provider and your household’s assigned payment channel.
Do I need a BISP wallet to receive my payment?
Not every household uses a wallet. Check your status through 8171 or the official BISP website to confirm which payment method has been assigned to you.
Can I register a BISP wallet with an expired CNIC?
Usually not. Renew your CNIC through NADRA before attempting registration, since most providers will require a valid card.
Can I register using someone else’s mobile number?
The mobile number should be registered in your name and linked to your CNIC. Using another person’s number can cause verification problems.
Is BISP wallet registration free?
Official registration and biometric verification are free. Never pay an agent or individual who says they can register or activate your wallet for a fee.
How long does activation take?
Timing can vary depending on the provider and the number of applications being processed. Check your status through official channels and ask the provider for an estimated timeline.
What should I do if my payment does not arrive in my wallet?
First confirm your status through 8171 or the official website. If the record is active and the payment is still missing, visit the partner bank or BISP office with your CNIC and reference details.
Final Words
Registering a BISP wallet is a practical way to receive your stipend digitally, but it works best when you prepare properly. Confirm your status, make sure your CNIC is valid, keep your mobile number registered in your name, and complete biometric verification at an authorised point. Verify activation afterwards and keep every reference slip.
Above all, rely on official channels, protect your OTP and PIN, and refuse any request for money. A careful, well-documented registration will save you time and reduce the risk of delays in the months ahead.